
Allow 6 to 9 hours (depending on weight of meat) for this enjoyable day, finishing with a delicious meal.
First, with a sharp knife, score the skin and then oil and season the meat. I usually make a rub-mix in a bowl, of salt, pepper, garlic powder and herbs. And maybe add a little chilli powder or cayenne powder. And anything else you fancy. There is fresh Rosemary growing outside the Games Room door. There may also be some mint, basil and other herbs growing around the garden, so carefully help yourself. Rub oil onto the meat, all over. Then sprinkle on and rub in the rub-mix, all over the meat.
With the meat on the rotisserie pole, make sure that the rotisserie turns properly when you switch it on. You dont want it to roll erratically around the pole as it turns.
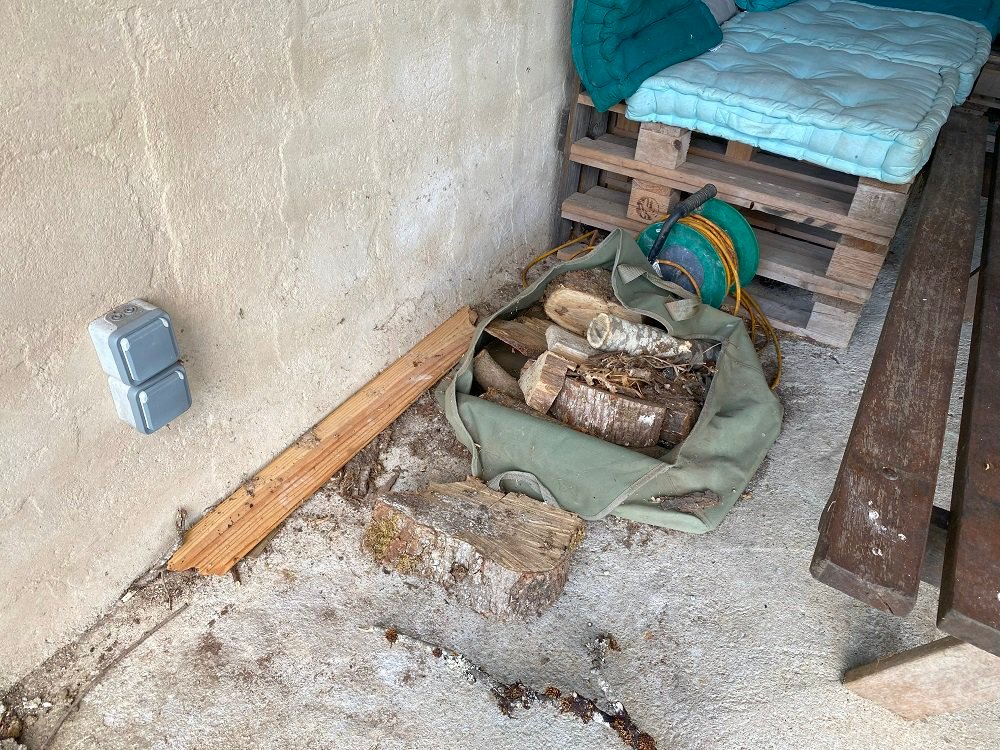
There is an orange electrical extension cable in the bakehouse to use.
and…
Also, feel free to stock this fridge with cold beers while you are cooking.
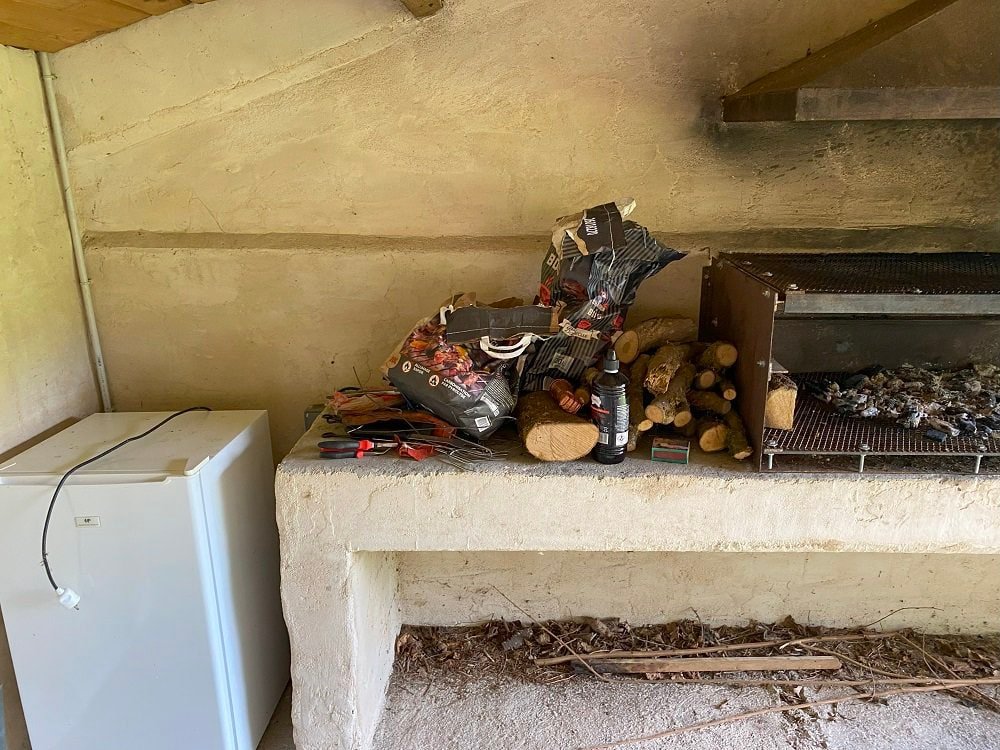
Use the copper wire and/or the screw-threaded all-thread bars (in the Bakehouse to the left of the BBQ) and pliers etc, to secure the chrome-metal braces either side of the meat, to secure it to the pole. This wiring or brace needs to go around the spine and the pole to keep the meat attached to the pole.
Leave the rotisserie turning for the rest of the day until serving time.
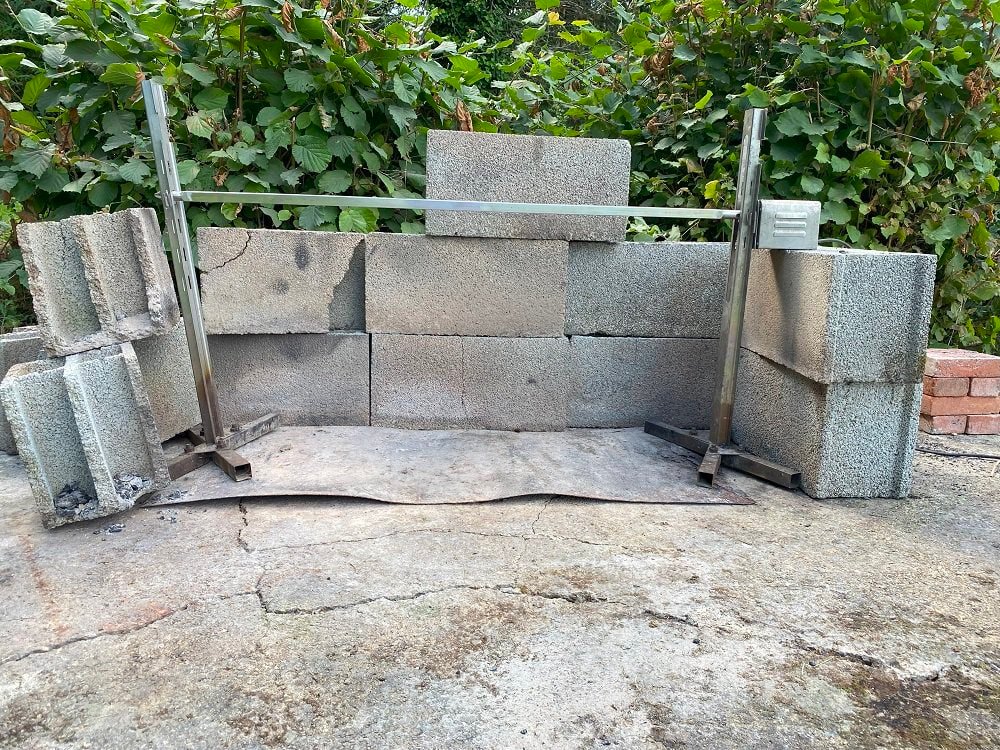
The concrete blocks around the back of the rotisserie bring some of the heat forward and onto the meat.

In the fire pit surrounded with grey concrete blocks, on the ground, light a fire using cardboard (some may be in the Bakehouse already) and small logs (ideally no thicker than wrist-thick, because these will more quicker burn down to charcoal embers. Help yourself to more wood from the wood barn (with the caravan in it) and use the wheelbarrow to trundle the wood up to the rotisserie (please go around the end of the terrace to avoid wheel marks on the terrace).
Use the shovel and rake to move the log fire into 2 halves; 1 with the burning logs and 1 with the burning embers (like charcoal burning).
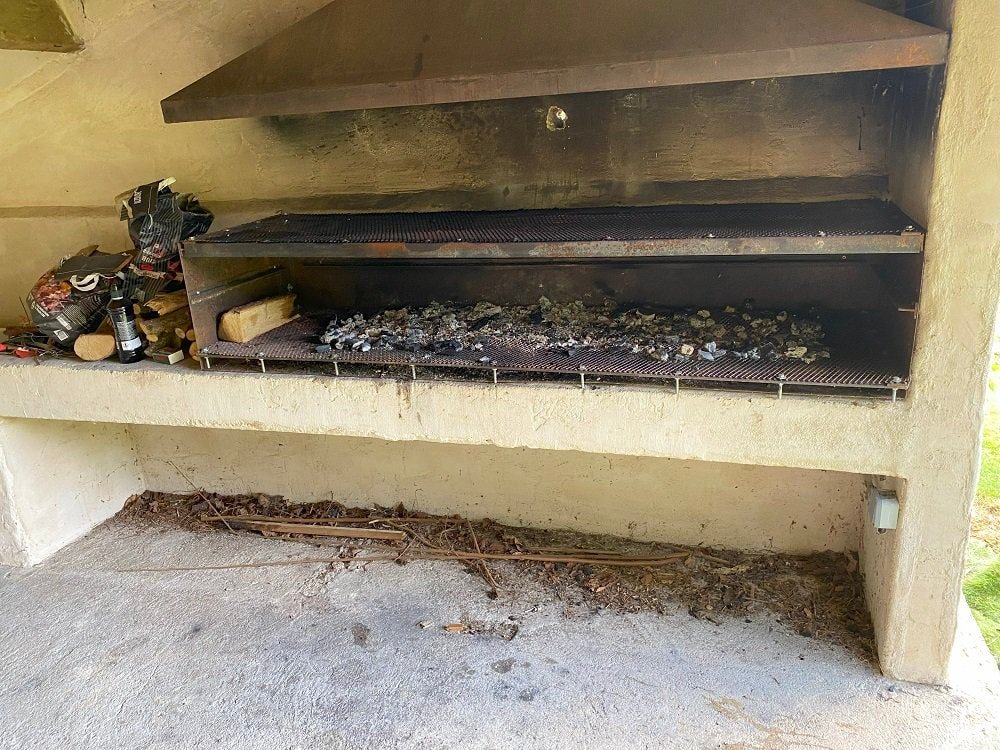
Use the shovel to carefully carry the embers across from the fire pit to under the rotisserie, onto the metal sheet beneath the rotisserie pole/bar. Spread the embers out under the meat, on the metal sheet. Watch out for dropped embers and plastic shoes. Definitely no bare feet!
NOTE – allow about 30-40 minutes from lighing the log fire to then having enough embers under the meat that it will start cooking, for your cooking time calculations
Repeat the process of adding logs to the firepit fire, burning logs down to embers and shovelling the embers across to under the meat.
Repeat this throughout the day, probably every 20-30 minutes, coming back to the fire to add more logs or to shovels embers across to the rotisserie.
This will all take a considerable amount of standing around with beer(s) in hand, pontificating how it is all going, and chatting throughout the day.
Enjoy!
Ready to Book? Contact us here to call or message us with any requirements you have, and to place your booking. Check availability here. Any problems or queries whatsoever, just call us here.


